
December 24, 2013
December 20, 2013
quilt bee blocks . . .
For the month of November, our bee was asked to make two Broken Herringbone blocks in one color-scheme per block. For some reason, this was a hard tutorial for me to follow. I missed a white sashing strip in the blocks and still need to rip out a couple seams to add them in - should be a quick fix though.

And this is my first set of blocks - big fail. I centered them wrong when trimming. Now they sit as two orphan blocks in my craft room and I'm not sure what to turn them into yet . . .


Last night we received a big dump of snow and the kids are enjoying their first cancelled school day this year - too bad it was also the last day before break which means they would have gone ice skating and watched movies all day. But we're enjoying lazing in our pajamas, with plans to make hot chocolate and bake this afternoon.
December 18, 2013
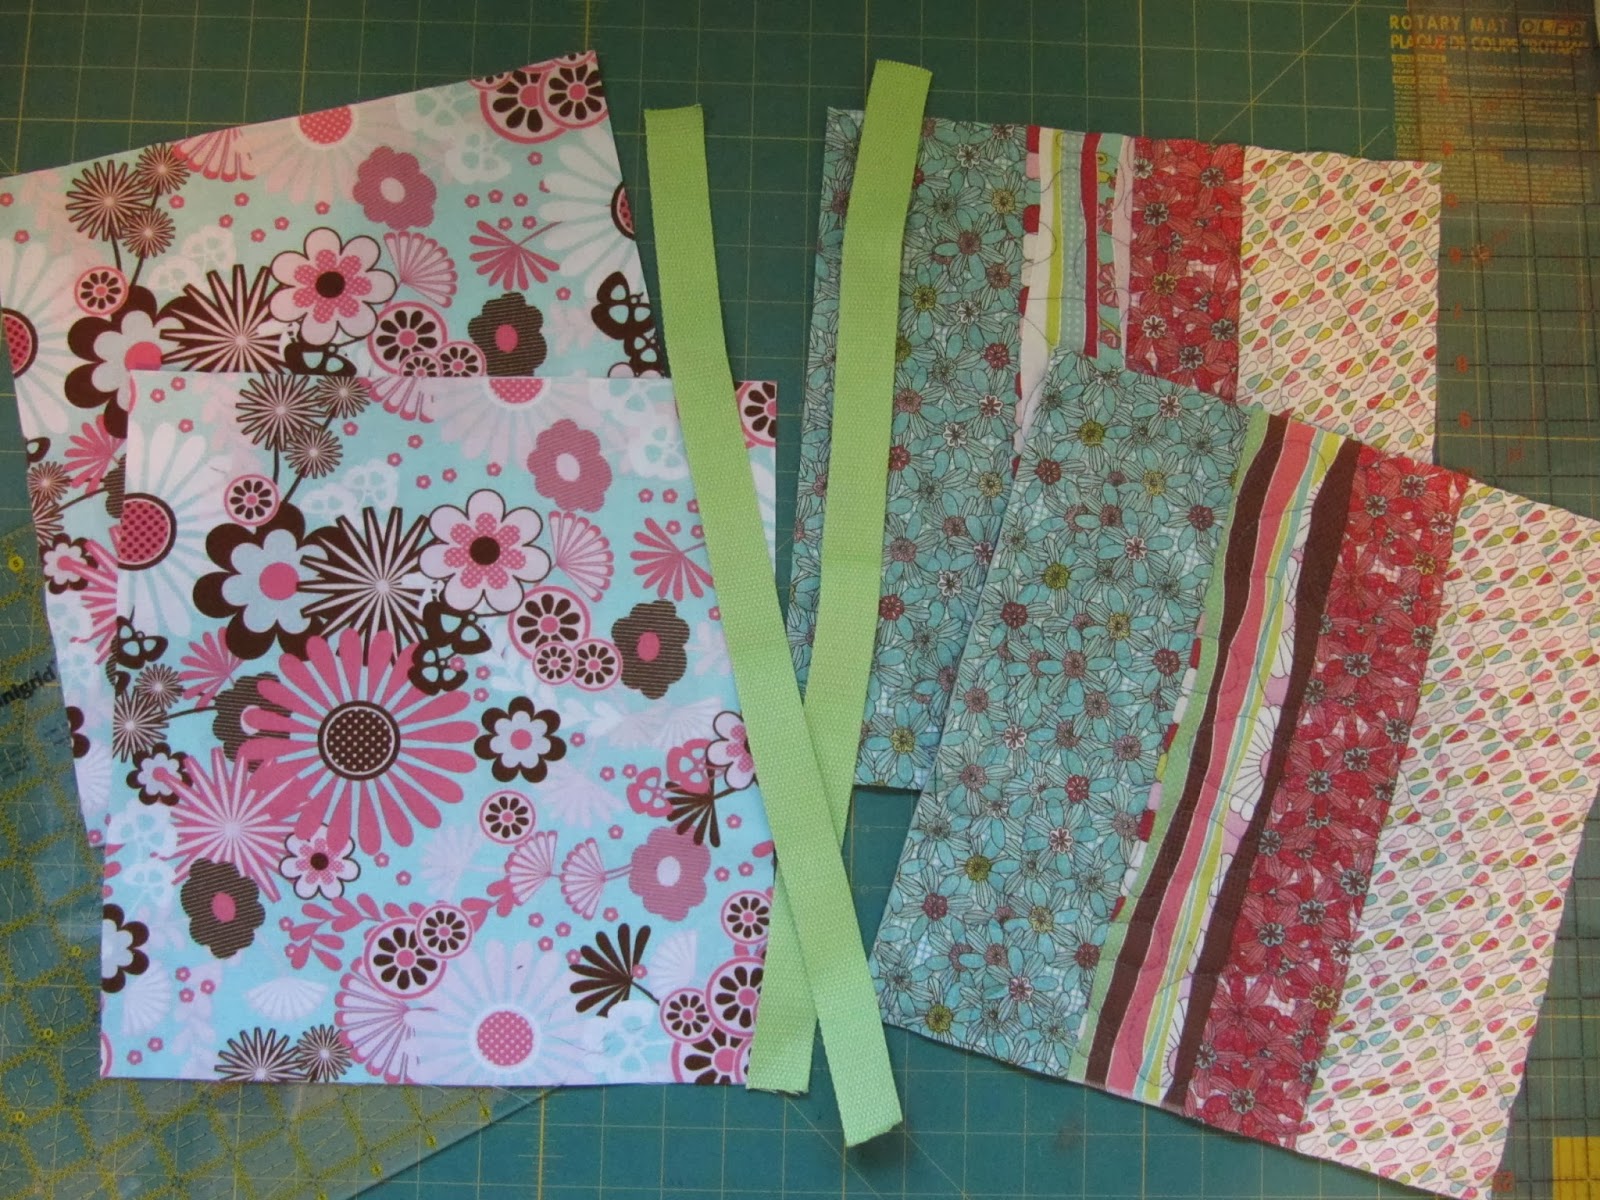
playing with some new fabric . . .


I used a couple pieces in this quick table runner for a gift for my secret sister . . .

The rest are decorating my craft room shelf, waiting for a selfish project in the new year.

December 14, 2013
cancer patient quilt from JOY circle . . .


The blocks are called Interlocking Seasons and the tutorial can be found here. The backing fabric is from Wholeport.com (they have a great selection of extra wide fabrics to choose from).

Do Good Stitches is having their annual link-up of finished quilts for the year. If you'd like to see more finished bee quilts, here's the link.

December 09, 2013
Sew Mama Sew Giveaway Day!
Twice a year, Sew Mama Sew hosts one of the biggest giveaway link-ups online. And each giveaway is either for handmade supplies, or handmade items. I love linking up with them, because it's a great way to find new crafting blogs, and win some great stuff! For my giveaway, I have two prizes . . .

One prize is a fat quarter stack of my favorite types of prints - grays and purples, polka dots, tonals, chevrons, a little bit of floral - these are what I steer towards when shopping for fabric.

And the second prize is a fat quarter stack of Robert Kaufman's Robot Factory (I put these aside for a winner when making a backpack and lunch bag out of them for my little guy).

This giveaway is open internationally, and will end on Friday Dec 13th. I will use rafflecopter to select the two winners, and give the first winner their choice of prize. Good luck!
 a Rafflecopter giveaway

One prize is a fat quarter stack of my favorite types of prints - grays and purples, polka dots, tonals, chevrons, a little bit of floral - these are what I steer towards when shopping for fabric.


Let it Snow Cash Giveaway!
Welcome to the $750 Let It Snow Cash Giveaway!
I'm part of a great group of bloggers, and together we're bringing you a fantastic giveaway.
One lucky person will win $500 cash and five others will win $50 cash!

Enter to win $500 or $50 cash via PayPal.
Just use the Rafflecopter below to earn entries into this giveaway.
Refer your friends using your unique link to earn even more chances to win.
Open Worldwide.
Ends at 11:59pm EST on December 22nd, 2013.
a Rafflecopter giveaway
This giveaway was coordinated by Giveaway Promote.
December 05, 2013
A Joy to Share . . .
Today we decorated the tree and started getting into the holiday spirit. A couple more weeks and I'll have these little blessings off of school for two weeks. I've decided to be intentional this year about planning activities, setting up a computer schedule (and making sure it includes lots of math websites for the older girls, and reading and letter activities for the younger ones), and filling my freezer with kid-decorated cookies and kid-rolled meatballs.

I also hope to include activities that help others - such as bringing donations to the local food bank, baking for others, going through their used clothing and toys and donating to a charitable second-hand store, and donating our time to help out a neighbor or shovel a driveway.

Here's another simple way to help others this year - KINDER® has partnered with Children’s Miracle Network and launched the A Joy To Share campaign. They are willing to donate $25,000 to this worthwhile charity, but they want to encourage personal involvement – yours! For everyone that creates a greeting card to share some holiday joy, KINDER® will donate $1 to the Children’s Miracle Network. You can create yours by going to their Facebook page.

Disclosure: I’m part of the Kinder® Mom program and I receive special perks as part of my affiliation with this group. The opinions on this blog are my own.

I also hope to include activities that help others - such as bringing donations to the local food bank, baking for others, going through their used clothing and toys and donating to a charitable second-hand store, and donating our time to help out a neighbor or shovel a driveway.

Disclosure: I’m part of the Kinder® Mom program and I receive special perks as part of my affiliation with this group. The opinions on this blog are my own.
December 04, 2013
WIP Wednesday . . .
Haven't shown a WIP in awhile, but wanted to share these Fanfare flannels that I won at luvinthemommyhood. I picked up a coordinating minky for them, and am hoping to turn them into a baby quilt for a close friend of mine . . .

And yesterday was chilly and sunny in our town - perfect excuse to whip up something cozy and cute for myself (it looks a bit big on her, but my daughter is modelling it because she's much cuter than me). My hubby doesn't know if he likes it, I'm still trying to decide if I can pull it off. It's backed with minky so it kept me nice and warm. Hoping to make a bunch more of these for my girls . . .

And one of my daughters brought home a birthday invitation with a message from the birthday girl that she had already received a handmade purse and apron from me from previous birthdays. I'm starting to run out of handmade birthday gift ideas, especially as the girls are hitting tweens soon. I settled on making a cosmetic bag and filling it with some jewelry, perfume, and hairchalk. Not sure I like that my girls are growing up so fast . . .

November 28, 2013
Little Tote Tutorial . . .
Today I'm sharing the tutorial for a little tote I've made many times over the past couple years. It makes a quick gift, and is the perfect size for a Bible & Psalter Book for church.

First, cut out your fabric. You will need two pieces 11" (width) x 12" (height) of your exterior fabric, lining, and fusible fleece (or if you prefer to quilt your exterior pieces - cut your exterior, batting and scrap fabric to 12" x 13", quilt the layers together, and then trim to 11" x 12"). You will also need two straps about 18" in length each - you can choose to make them out of fabric or use pre-made. The ones I used are from Wholeport.com and can be found here.


Push lining into bag, making sure to push out corners. Carefully iron the top edge of bag.


First, cut out your fabric. You will need two pieces 11" (width) x 12" (height) of your exterior fabric, lining, and fusible fleece (or if you prefer to quilt your exterior pieces - cut your exterior, batting and scrap fabric to 12" x 13", quilt the layers together, and then trim to 11" x 12"). You will also need two straps about 18" in length each - you can choose to make them out of fabric or use pre-made. The ones I used are from Wholeport.com and can be found here.
Iron the fusible fleece to the back of your exterior pieces (unless you have already quilted your exterior pieces). Find the top center of an exterior piece, and pin strap 4" apart. Sew strap close to top edge. Repeat with second exterior piece and strap.

Pin exterior pieces right-side together and stitch with a 1/2" seam allowance. Make sure you don't catch your straps in the stitching.

Now it's time to make the bottom corners. Line up the side and bottom seam and pin. Using a ruler, find the spot where the corner is 3" in width and draw a line with a pen. Using a small stitch length, stitch on this line. Cut off excess corner fabric.

Repeat above steps with lining pieces - but when sewing right-sides together, leave a 4" opening on bottom to turn bag through later. Sew bottom corners same as above.

Turn the exterior of bag right-side out and place inside of lining. Pin the two together.

Sew along upper edge with a 1/2" seam allowance. Do a double-stitch over handles.

Gently pull bag right-side out through opening in lining. Check your seam for any puckers or loose threads.

Pin and sew the opening in the lining.

Push lining into bag, making sure to push out corners. Carefully iron the top edge of bag.

Top-stitch the upper edge of bag. And you're done!

Here are some variations I've made with the same measurements.

And for a couple boy versions over the years, I changed the bag dimensions to 12.5" x 9.5" and shortened the straps to 10".

Please let me know if you enjoyed this tutorial, or if there's anything unclear in the directions.
Thanks for stopping by!
November 27, 2013
sewing with stretch lace . . .


Now I've been putting off the next challenge for her . . . a lined fuzzy chenille bathrobe. Wish me luck!
November 21, 2013
winner and back to sewing for the girls . . .
The winner of the three Peek-a-Boo Patterns was Mary Ann! She managed to pick her patterns from their huge selection and went with the v-neck cardigan, skinny jeans, and boxers/briefs. Looks like some fun boy sewing in her future!

And after all that sewing for my boy, I'm back to sewing for my girls. A dress just about finished, a Breeann shirt for each girl, and a pink fuzzy bathrobe are on the list. Hoping my sore neck and shoulders get better soon so I can get them done!


And after all that sewing for my boy, I'm back to sewing for my girls. A dress just about finished, a Breeann shirt for each girl, and a pink fuzzy bathrobe are on the list. Hoping my sore neck and shoulders get better soon so I can get them done!

Subscribe to:
Posts (Atom)