
Cut out your pieces:
Main outer - 7" x 9.5" (interface this piece)
Inside main - 7" x 5" (cut two)
Inside coupon/calculator pocket - 5" x 4.5" (cut two)
Inside notebook holder pocket - 6" x 5" (cut two)
Closure - 7" x 2" (cut interfacing 3.5" x 2" and interface half of piece)

Take closure piece, fold it in half matching short ends, and stitch both long sides. Trim seams, clip corners, and turn right-side out. Press.

Center closure piece on one short side of the main outer fabric, and stitch 1/8" from edge to secure.

Take your two sets of pocket pieces and stitch both sets right-sides together on 5" edge. Press in half, wrong sides together.

Layer your pocket pieces on top of your main inside pieces. Put smaller coupon/calculator pocket on left, and larger notebook pocket on right. Sew the middle seam, right-sides together making sure to sew through all layers of pockets and main inner pieces. Press seam open. (Note: I placed a notebook in the picture just to show the difference between the notebook pocket and main inner fabric because I used the same print for both).

Layer outside and inside pieces of notebook holder right-sides together, making sure to put the closure piece on the same side as the larger notebook pocket. Sew around entire outside edge, leaving a 4" opening for turning, and double-stitching over closure. Clip corners, and turn right-side out. Press.

Topstitch entire outside edge, making sure to close opening that was used for turning. On inside piece, also make two lines of topstitching - one on either side of middle seam.

Attach one snap centered near end of closure. Close notebook holder and mark where the other half of snap should be placed. For second-half of snap, hide backing inside of coupon/calculator pocket.

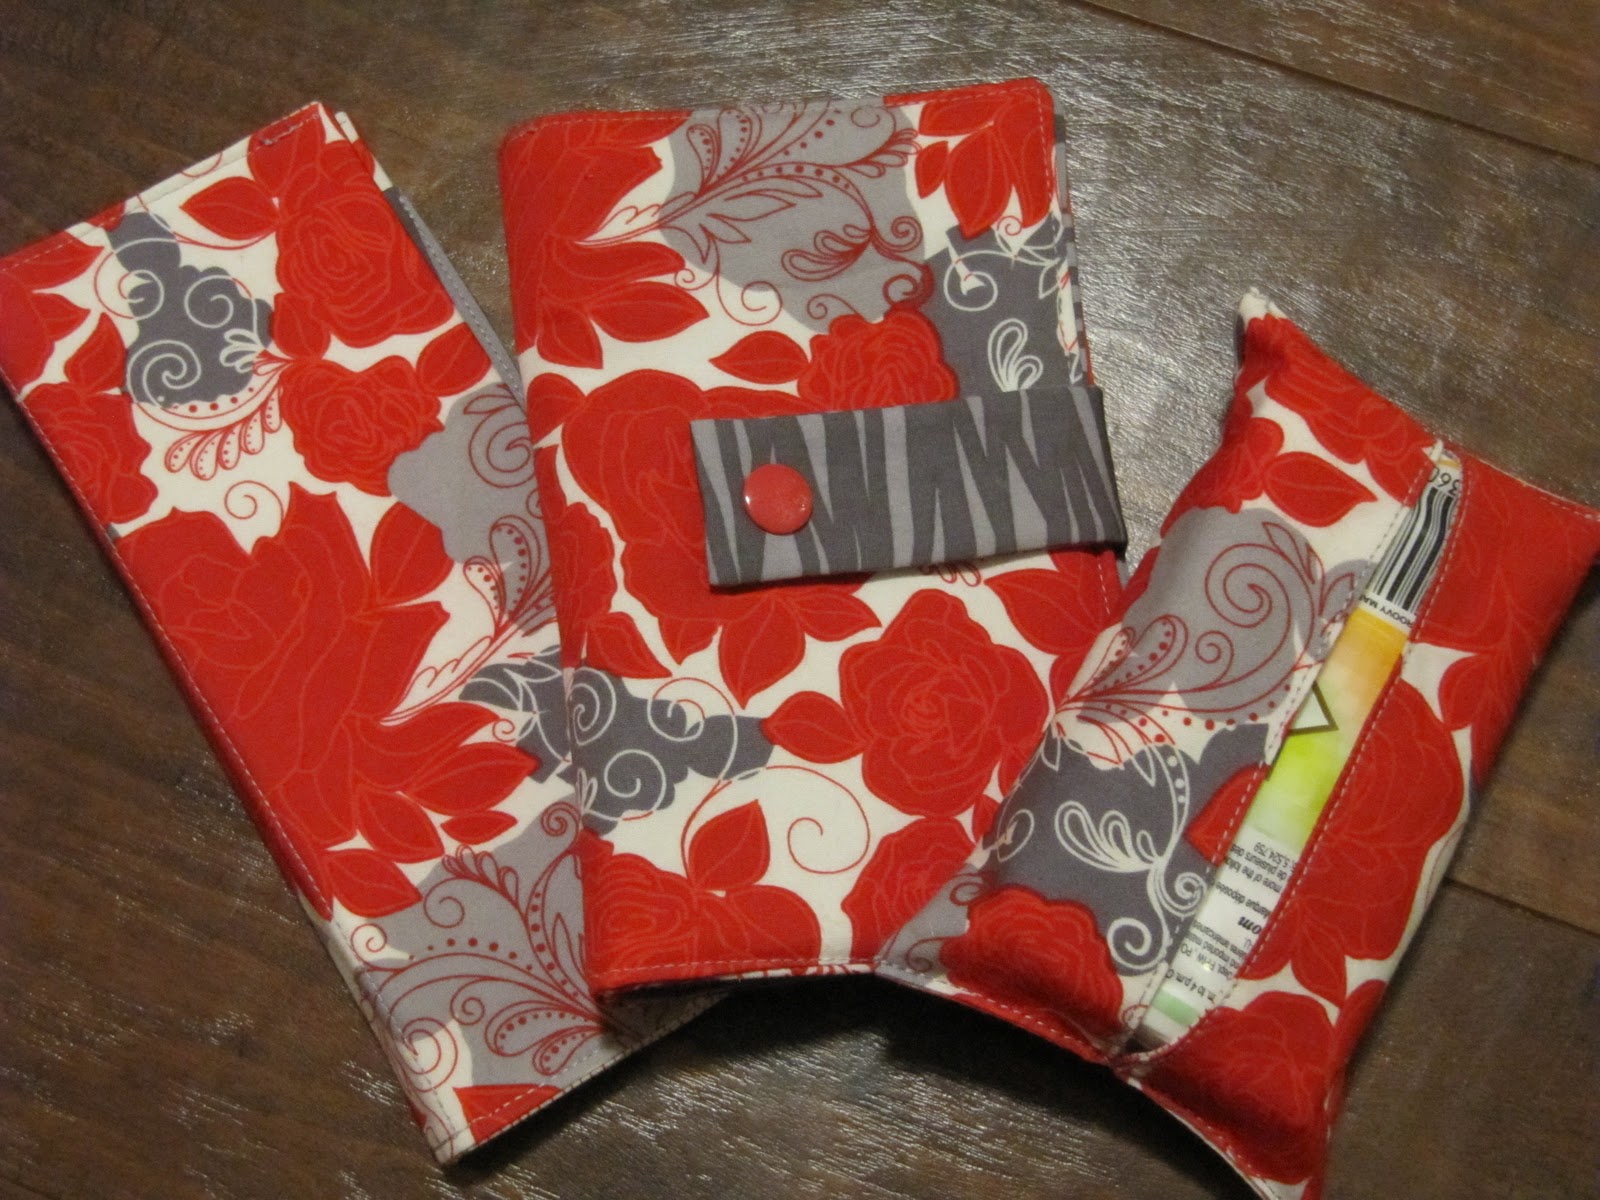
And you're done! You have a handy little notebook holder to throw in your purse or give as a gift.

And why not make a tissue pouch or a chequebook cover to match?
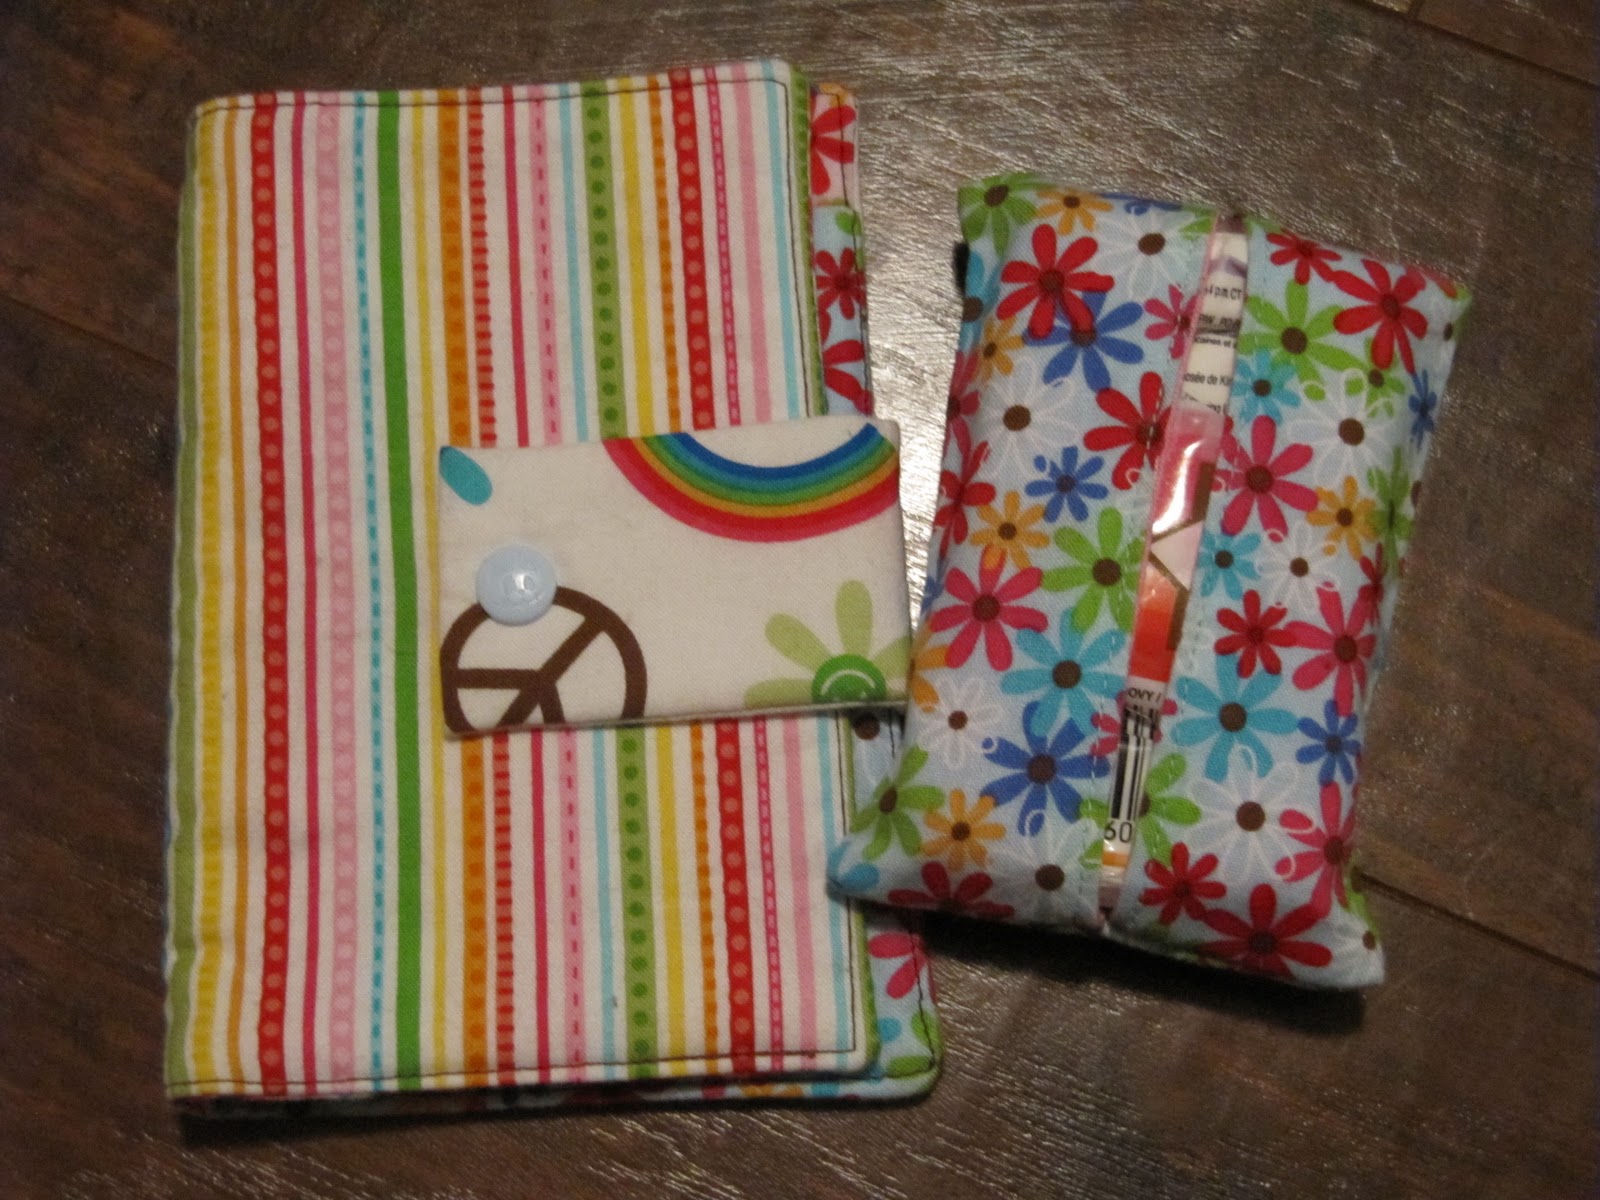
Here's another set I made for one of my daughters (she's already on her third notepad).
I hope you have fun with this little tutorial! Please let me know if you have any questions or suggestions.
Linking up to Confessions of a Fabric Addict, Sew & Tell Friday, and Finish It Up Friday.
11 comments:
Great tutorial! Thanks! I could see my girls with these, too.
very cute thanks for sharing the tutorial
Thank you for the tutorial! I need to do a few of these, maybe I can squeeze some in for Christmas gifts...Love the ones you made!
cute! and so easy!
So cute! Those would be awesome gifts! :o)
I love how you've created a set! Definitely have to try this.
I need to try this- it looks so fun! (and I love your color choices!)
That's a beautiful set! I really like the fabrics you chose for it. So pretty!
These are fantastic! Thank you for the tutorial!
Love these!
I will try and make one for myself thank you.
Post a Comment