

First, cut out your pieces:
From the outer fabric, lining, and batting - cut one main piece 8.5" x 10"
From the outer fabric, lining, and batting - cut one flap piece 8" x 3.5"

Prepare your flap piece:
First, find something round and use it to cut the bottom edges of the flap pieces in a curve.
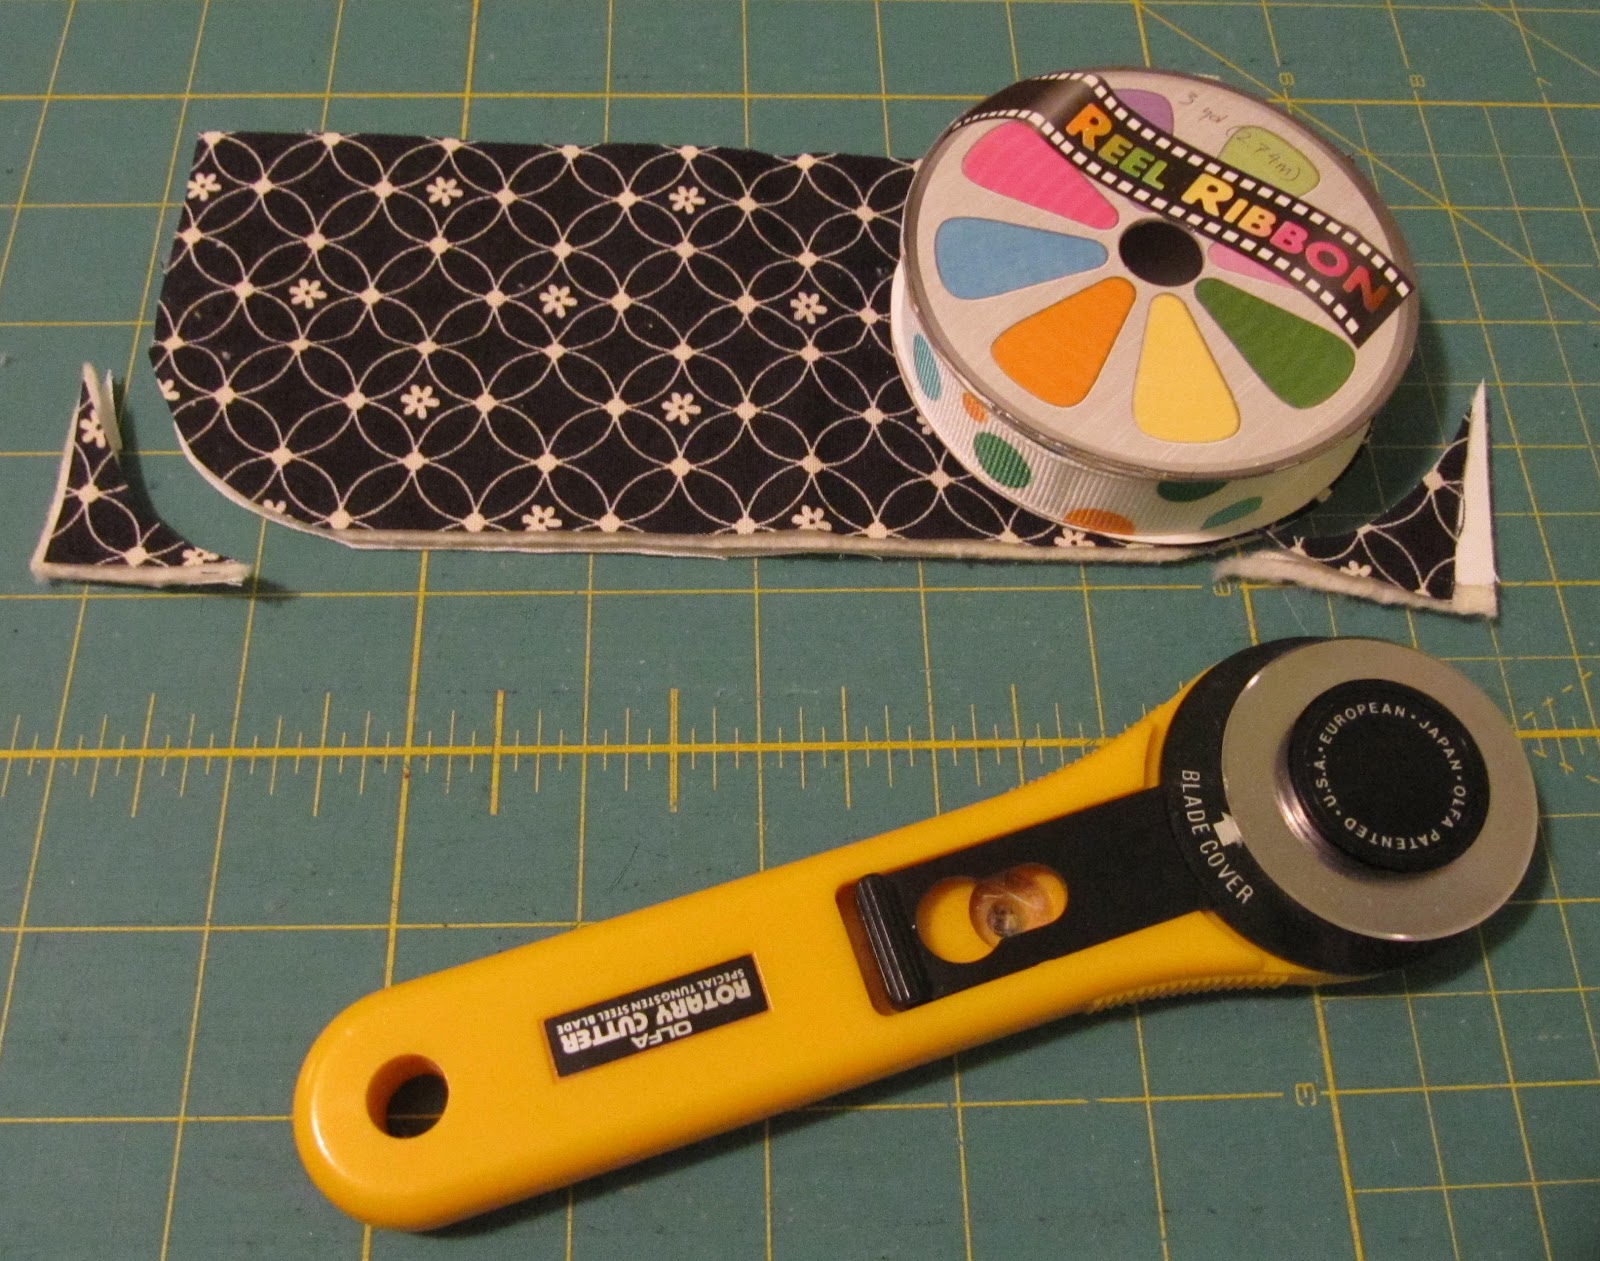
Sew all three layers together with a 1/4" seam allowance.
Clip curves, turn right-side out and press. Topstitch close to the edge. Put aside for now.

Prepare your main pieces:
Layer the outer fabric on a piece of batting and fold in half, with outer fabric right-sides together. Stitch on side edges with a 1/4" seam.
Fold lining piece in half and sew side edges with a 1/4" seam, but this time leave a 2" opening on one of the side edges (to turn the clutch right-side out through later).


Attach flap to outer piece:
Find the center of the flap and the main outer piece and pin together. Sew a scant 1/4" from edge.

Assemble bag:
Place the outer main piece inside of lining, right-sides together. Stitch top edge with a 3/8" seam.

Finish bag:
Turn right-side out through opening in lining. Stitch opening closed by machine. Put lining into main bag, push out corners, and press top-edge. Topstitch close to top edge.


This one is for myself, perfect for a couple things I want to keep together so they're easier to transfer between purses. Please let me know if you have any suggestions or corrections to the steps above - THANKS!
Linking up to {Sew} Modern Monday and Fabric Tuesday.
Linking up to {Sew} Modern Monday and Fabric Tuesday.
37 comments:
Nice bags, can see why your daughters loved them!
Oh, I came over from Fabric Tuesday - Love so many things about your blog! I never made a bag before - maybe I can try your tutorial.
~Laura
very cute and simple
very nice tutorial! thank you
Great little tutorial! Thanks for sharing.
Great bag & thanks for the tutorial, I love the fabric you used! :-)
I found your tutorial from QuiltStory! The clutch is so cute!
great tutorial rebecca! thanks for sharing, pinning now!
Very cute and easy to follow.Thanks for sharing!
I love these little pouches - and that you don't need to do a zip for them either:)
I'll be making these for some twin girls who are turning 8 this weekend to fill with other homemade goodies. Thanks for the tute!
beatiful clutch!!!
Maria Filomena
Hi!!!
Very good !!!
Sonia
Lovely bag!
Thank you for sharing the tutorial.
xoxo
Nina
Just made my first bag following your tutorial!!! It is so cute! I can't wait to make many more. Thank you for sharing!
This is REALLY cute! I think I'll make a few in various colors for my girls, but also make some for diaper clutches. Thanks for sharing the tutorial. :-) www.workathomeunited.com/jtmcdonald
I made two of these yesterday the first was a fail ( lesson learned, read the measurements carefully lol)
The second one is wonderful, I love it!!!
I made it using a canvas like fabric for the oustide and a linen like fabric for the lining. I turned out perfect. I didn't use the batting, I was trying to avoid the extra bulk.
thank you for sharing the tutorial!!
I just found this tutorial on Pinterest. Love, love, love! I think I might start one of these tomorrow!
I LOVE this! Thanks so much for sharing! I might try to make one as a Secret Santa gift at school!
Love the bag and the tutorial,it's very thorough and it could be customized to the user's personality. My idea is to make a shoulder strap from ribbon and sew it to each side so you could carry it that way as well (you can tuck it inside when you need a clutch.) I tend to put things down and not remember to pick them back up. Who hasn't not that? Thanks for sharing!
Lovely! Nice choice of fabric too =)
So nice of you for sharing this brilliant idea. I am surely going to give it a try to Evening Clutch Bags
I found this on Pinterest and am making some for my mother as a Mother's Day gift. I am making 3 in different sizes. Thank you for the tutorial!
These look really nice, I particularly like the one with the green flower. Thanks for sharing.
Obrigado por compartilhar, vou fazer, achei gostei ela ficou linda vou fazer....beijos.
HELLO !!!
I am from Brazil... and I love this !!!
Thanks =)
Thank you for the pattern - I can see this coming in handy at Christmas time!
I have linked to you on my blog - http://alittlebirdmademe.wordpress.com/2013/06/21/a-list-of-30-free-tutorials-and-patterns-for-wallets-and-pouches/
Thanks very much for this lovely tutorial! Very well explained, and the result is just fabulous!
Thanks for sharing. Karin from the Netherlands.
Very clear tutorial! Thank you Rebecca!
Hugs from Italy!
Gracias, muy buen tutorial.
Un beso.
Thanks so much for the great tutorial and pictures. The bags are so cute. You have inspired me.
lovely tutorial. its so easy cant wait to make my very own purse.thank you so much. :)
I love your tutorial and I would like to make one. Would I need a sewing machine to do this? Unfortunately, I do not have one.
I gave my 9 year old grandaughtera sewing machine for her birthday, and these pouches are going to be her first project. she wants to make 7 of them for family members next Christmas. She picked out several different fabrics today, and decided to do the flap in coordinating print. She also wants to embroider the recipients initial on the flap. Thank you for sharing your idea. So nice not to have to pay a fee!
hello,
I love the purse and I'm eager to make one. I'm new to sewing; never done it before. I've a question - can I use felt for batting?
Thanks,
Meena.
These are really cute! Thanks for the tutorial.
Post a Comment